Bonus Homework Week 1
Introduction
For this week’s bonus material, you’ll be getting lots more practice with writing CSS code.
First off, we have a little reading to help you to get a firm grip on the CSS box model and flexbox - 2 useful frameworks for thinking about how to position elements on the page.
After that, you’ll use this newfound knowledge of CSS to play 2 interactive games that will help you to troubleshoot your understanding of CSS.
Next, you’ll move on to coding on your computer - rather than an online sandbox - making a rough copy of a website, and then using Bootstrap to make a responsive landing page!
Finally, there are some extra resources at the end, including some stuff that we didn’t cover in lecture, but is useful to know about if you want to become a serious web developer.
Assignment
1) Read the following articles | 30 mins
Both of these articles will flesh out your understanding of the CSS box model and flexbox, which you’ll be needing in step 2!
- [Article] The CSS Box Model | CSS Tricks | 10 minutes
- [Article] A Guide to Flexbox | CSS Tricks | 20 minutes
2) Complete CSS Diner + Flexbox Froggy | 60 mins
There are two awesome games that I want you to check out, which will give you some good practice with using CSS selectors and Flexbox. Both games are quite similar, and each should take around 30 minutes to complete.
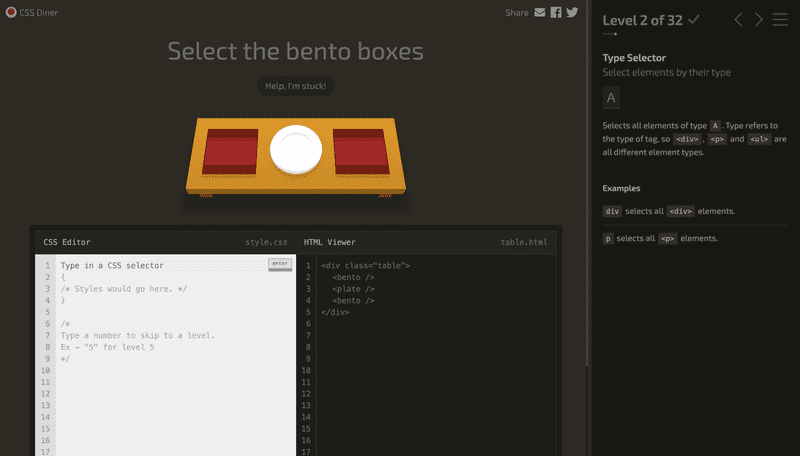
In CSS Diner, you are responsible for placing items on a table, using CSS inside a coding sandbox. You might want to use the CSS selector reference from this week’s homework to help you out with this.
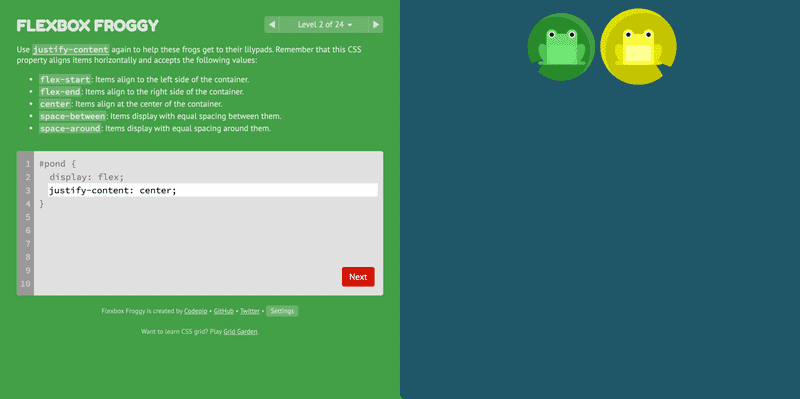
Flexbox Froggy is similar - you need to position frogs on lily pads using flexbox properties. You’ll probably want to reference the CSS Tricks Guide to Flexbox as you complete this.
3) Make a copy of a simple HTML/CSS page | 1 hour
Now that you have a decent amount of experience with using CSS in a sandbox environment, I want you to get some practice at coding on your local machine.
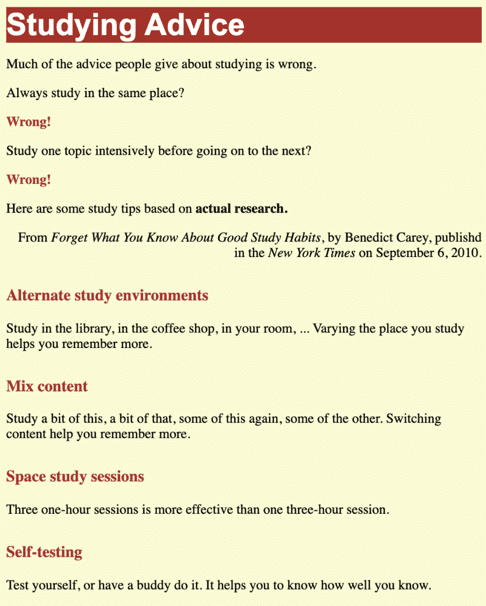
I want you to recreate the following web page with HTML and CSS:
You can use either a <div> tag or a <header> tag for the title section, and you might also want to use the <strong> tag (for bold text) and the <em> tag (for italics). If you need help with any of these elements, then you can always check out the HTML elements reference from mozilla.
If you didn’t complete the bonus homework last week, then follow steps 1-3 on that homework to get set up with a local development environment. You’ll also want to create a styles.css file in your project directory, and include it in your HTML.
See if you can keep your code as DRY as possible for this exercise, and write as few CSS selectors as you can!
You can check out my implementation here if you get stuck.
4) Set up Bootstrap | 20 mins
By now, you have a decent amount of experience at working with HTML and CSS. However, we haven’t actually made anything that looks nice yet!
In practice, we’ll almost never start coding our CSS from scratch. It’s generally a good idea to use a CSS library to give us some simple styles to start off with. I want you to make a simple landing page with Bootstrap to test this out.
- Set up your development environment. You should have a file structure that looks something like this:
landing-page
│   index.html
|   styles.css
│
└───images
│   │   image1.jpg
│   │   image2.jpg
|   |   ...
Your index.html file should start with the standard boilerplate HTML code, and it should include the styles.css file in the <head>.
- Add this line to the
<head>of your HTML file to include Bootstrap:
<link href="https://cdn.jsdelivr.net/npm/bootstrap@5.0.0-beta1/dist/css/bootstrap.min.css" rel="stylesheet" >Important: make sure that your styles.css is included after Bootstrap. This will let you override Bootstrap classes if you need to.
5) Create a landing page | 2-4 hours
Now that you have Bootstrap installed, I want you to try to make a simple landing page with HTML and CSS.
Most landing pages look pretty much the same, with some pretty common generic features:
- A navbar/header at the top of the screen with a company logo on it.
- A “hero image” which takes up the full screen with some text overlayed on it.
- A “features” section explaining why you might want to buy the product.
- A “pricing” section to say what it costs.
- A “team” section with a bio of the founders.
- A footer at the bottom with some information about the company.
Make a website that has at least a few of these features describing some kind of product. Check out the Bootstrap grid system to make sure that your site looks good on any screen size. You can use the Bootstrap navbar component for the header and footer. For a “Call to Action” button, you should pick one of the buttons that Bootstrap offers here. I also found the Bootstrap typography classes to be helpful to come up with some easy styling to text elements.
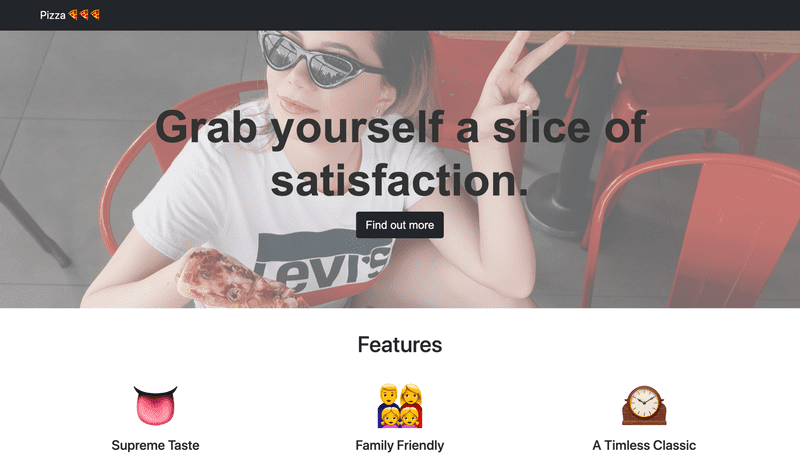
You can check out my total lack of creativity here.
Feel free to share a screenshot on Discord if you manage to make a finished site!
6) Watch/read the following materials | 1 hour 23 mins
As a final step, here is a list of extra materials which might be interesting.
- [Video] Pseudo Classes and Elements | The Net Ninja | 14 mins
- [Video] CSS Specificity explained | Kevin Powell | 13 mins
- [Video] Learn CSS Position in 9 minutes | Web Dev Simplified | 9 minutes
- [Video] Learn CSS Media Query in 7 minutes | Web Dev Simplified | 7 minutes
- [Article] HTML/CSS Style Guide | Mark Otto | 20 minutes
- [Article] Modern HTML explained for dinosaurs | Peter Jang | 20 minutes


